Whole30-ing

In my blogging absence (again), I did something super crazy: started Whole30. I feel like so much of the internet knows about Whole30 at this point, while everyone I would talk to in person just looked at me as if I had six noses.

In a sentence: Whole30 is a month-long elimination diet to cut out trigger foods. The key, flexible phrase in that description is “trigger foods,” which includes both allergens (dairy, grains, etc.) or an addictive substances (i.e., tobacco, alcohol, and sweeteners, especially refined white sugar). During the thirty days, you transition from withdrawal of your old diet to learning new methods to eat and care for yourself. After the 30 days is up, you reintroduce all of the eliminated foods slowly, deliberately to see which ones were affecting you poorly and in what ways (inflammation, break-outs, bloating, etc.) Pretty much, Whole30 is supposed be a major life overhaul. If you’re interested in reading about the diet much more in depth, feel free to check out the Whole30 site, as I’ve cover a mere fraction of what’s available.

I decided to do this crazy diet because, like so many people, I have a lousy relationship with food which can be summed up as: I only like to eat sugar. Really. In the past few months, I noticed how often I would resort to white sugar on any given day: a donut on my way to work, some cookies on the lunch table, a couple of sodas at the theatre during a shift, some ice cream when I got home — in one day! I’m not joking! My skin was horrible, my sleep restlessness, and my gut pained. So, like any over-analytical dolt, I decided to cut it all out to see what would happen, kind of making myself a science experiment.

Today is Day 27 and I’m feeling so much better! While I still crave a donut (damn you, lady problems), I’m finding that everything that was bothering me has subsided. My skin is better, my sleep is deeper, and I’ve eliminated all stomach issues. And, while weight check-ins are also verboten on Whole30, I’ve probably lost about 8-10 pounds. Not bad for four weeks.


IMG_7061[1]IMG_7052[1]IMG_7051[1]IMG_7048[1]

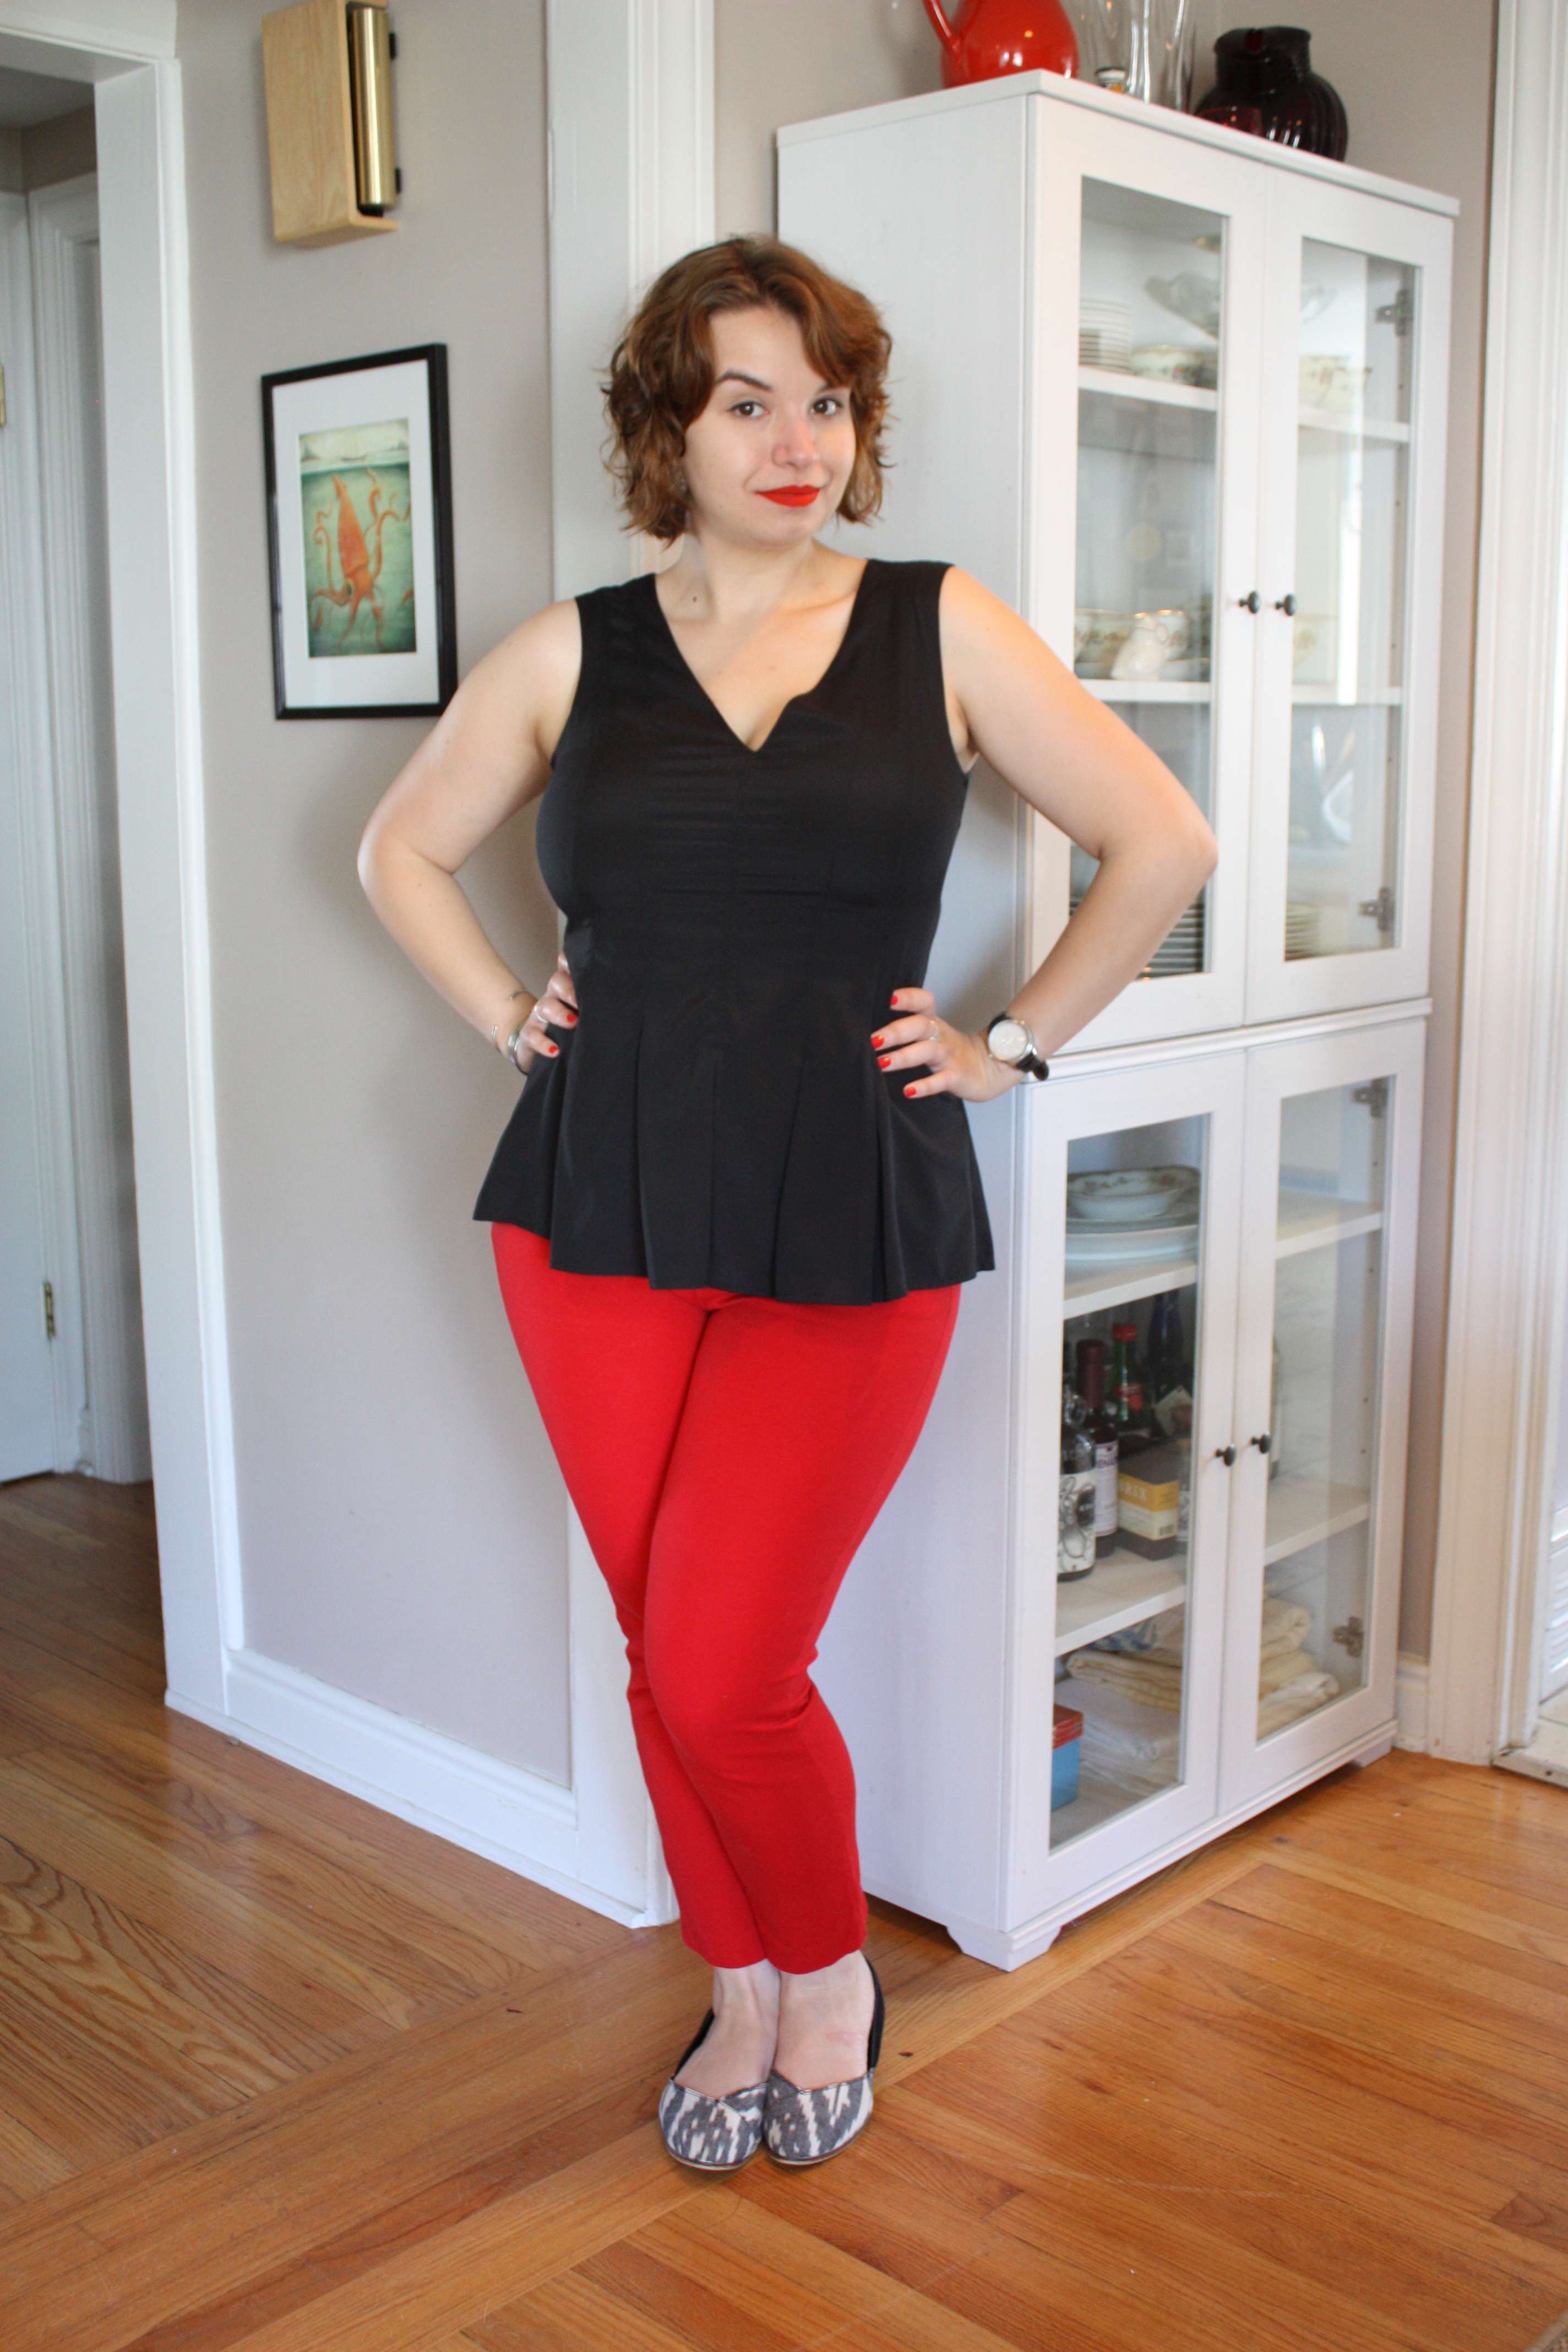
Dress: Stitch Fix from 2014

Cardigan: LOFT

Shoes: TOMS

Necklace: Modcloth

I wore this bright, festive get-up for a weird day — leading a training session in the morning and attending a cool networky event at night hosted by our favorite library. I love this dress, which I scored from Stitch Fix when SF still loved me, and thought it would carry me nicely between the two.

While probably a little more colorful than necessary for my training session in a historic house, this dress fit perfectly into the scope and scene of the evening event. Our fave library asked their Board President to host it at his wonderful loft. Southern New England has a great track record of taking former factories and repurposing them as living and working spaces. While every renovated space is unique and quirky, this dwelling was beyond belief: filled to capacity with wonderful artwork on top of the eclectic design elements, it took me all my might to not hide in a closet and plead for the owners to adopt me. And I wasn’t the only thinking — or saying — that. The abode had been featured in a local magazine a few years back:

Tripp: 1. I built this indoor pergola not long after we bought the loft in 2005. The columns came from a 19th-century house in Richmond, Virginia. They crossed the Mason-Dixon Line in a snowstorm, flagged and projecting four feet from the back of our station wagon. 2. This standing sculpture, an earthenware figure holding 109 graduated porcelain bowls, is Balancing Burden by the Chinese-American artist Eric Kao. Kao’s work explores his identity as the son of immigrants - a theme that particularly resonated with Ed, who emigrated from the Azores with his parents in 1966. 3. This is a former gas streetlamp from Savannah, Georgia. It was rescued by my ex-sister-in-law, a Savannah native who will probably want it back if she ever sees this. 4. Providence artist Kik Williams made Bubble Gum Pink for a Steel Yard show (the hot pink “glaze” is actually metallic auto-body paint). 5. Beyond Williams’ sculpture are works by other Providence artists: Gregory Poulin, Jungil Hong, Dan Wood, Andrew Raftery and C. W. Roelle. We’re lucky to have landed in a city that supports so many talented artists, and that’s preserved so much of its industrial architecture - without one, you’d never have had the other.

See? AWESOME.

While Whole30 was difficult to maintain during the night, as we had to skip a lot of picky things to eat, we managed just fine. Food I wouldn’t be able to resist was, oddly, just fine staying on the table while I chatted! What else was cool about this diet endeavor, though, was being forced to see the other ways I’m growing and changing. While networking stuff is anxiety-inducing for me, to like a panic attack level, it was nice to walk into this and feel moderately at ease. It also helps that there were some lovely folks to see again (hi, Julienne!).

I guess, the point of all of this: if there’s something scary and daunting and just beyond where you’re comfortable, either examining your relationship with food or trying to understand why something freaks you out to the point of tears — just face it, as debilitating as that may seem. You can do it cold turkey style, like Whole30, or in graduated steps, like anxiety, but in all of my experience, the journey is always rewarding.

Snow-pocalypse Jonas: Hair Henna Edition

This weekend, with the predictions that we’d get hit with a mega snowstorm, I decided to use the housebound time as an opportunity to henna my hair. I’ve been using Lush’s Henna Hair Dye for a couple of years now because I was curious about the “all natural” method of coloring my hair after years of conventional home dyes. Unlike chemical dyes, which, from my understanding, rip open your hair follicle and replace your natural color with a dye, henna actually slowly permeates your follicles while sealing them. While chemical dyes can leave your hair brittle and weak from this damaging process, henna is restorative and healthy.

A few years ago, I started with Lush’s “caca marron” (yeah, weird name, I know), which boasted that it dyed hair a “deep chestnut.” I always ended up a redhead, along the lines of Emma Stone. Recently though, I’ve wanted something darker, so I tried “caca brun,” which gives me the right deep and dark brown that I want in the fall/winter months.

So, here’s what you need:

  1. A brick of henna hair dye
  2. Extra spices (optional)
  3. Cutting board
  4. Sturdy knife
  5. Dish cloth
  6. Heat-resistant bowl
  7. Wooden spoon
  8. Lots of newpaper
  9. Vaseline, Waxelene, or Ultrabalm
  10. Gloves
  11. Grubby t-shirt
  12. Plastic wrap
  13. Good book to pass the time (or Netflix… or moderate amounts of wine)
  14. Shampoo
  15. Conditioner

Not pictured, but also needed: boiling water and hair clips.

Step 1: Lay out newpaper (or grocery ads, whatever) all across your bathroom floor and in your sink. Henna gets MESSY!

Step 2: Unwrap your brick and cut it up. I put the dish towel over the knife back because the bricks are hard to cut.

The bricks are actually lined so you can easily cut your brick into six squares. I cut the block down to squares, portion out what I need, bag the remainder in a Ziploc, and chop what I’ll use into smaller bits.

Because I have shoulder length hair, I use about two squares. The Lush employees initially suggested I use more (like three or four squares), but I find that I have too much product left over. Plus I’m cheap and like to squeeze as many dyes as I can out of one $27 brick!

(Lush also recommends using one square and doing a test on a strand of hair before doing your whole head. I skipped the test because I’ve used this dye before and I’ve dyed my hair every color, so I really don’t care about what color it turns out. If you do the test, take one square and follow the same directions for cooking and treating a strand at the nape of your neck before doing your whole head.)

img_5421

You’ll notice some weird powder in this photo: it’s cinnamon and cloves! I read that cinnamon, cloves and coffee will increase the brown color, while paprika or red wine will increase the red. Feel free to experiment (just do so in moderation the first few times you henna so you get a sense of color). I used about a teaspoon of cinnamon and a half-teaspoon of cloves.

Step 3: Add just-under-boiling water. You want the water hot enough to mix and melt the henna chunks, but not enough to burn your head. You also want enough water that you’ll get a fair smooth paste: not thick and dry, nor watery and runny.

Step 4: Mix and break up the henna chunks. My mix ended looking like this, kind of like batter, with some chunks of henna in it, but fairly smooth overall.

Step 5: Head the bathroom with that bad boy mix! Make sure any cats are out of there before application because you don’t need a henna-ed feline. I nestle my bowl in my bathroom sink.

Step 6: Pin your hair up in segments. I leave the lower half of my hair — below my ears and by my nape — down because I’ll start with that section first. I pin the upper part of my hair — at the crown of my head — because I’ll work up that area last. It’s easier to do the hardest parts of your hair and head first because you’re essentially applying impenetrable mud to yourself.

Step 7: Apply your Vaseline, Waxelene, or Ultrabalm all along your hair line. That includes your forehead, in and behind your ears and at the nape of your neck. It’s ok if a little gets in the random strands of your hair. This is to protect your skin from getting tinged any weird shades of red or brown.

Step 8: Put on your gloves.

Step 9: Take a big ole glop of henna from your bow; I used my hands, but you could probably try a brush of some sort. Apply said glop to the lowest part of your hair, that bit that’s hanging down at your nape. Pretty much, you want to take the henna and apply/rub/mush into your hair from your roots to ends. Apply until that section is saturated.

I take each glopy section, twist it, and press it to my scalp. The henna paste works like a strong enough adhesive to make that twist stick to my head.

Step 10: When the lower half is done, take down another section that you’ve pinned up and apply the henna as you did to the lower section by applying, rubbing, and mushing. Twist and stick to your head if you can. Finish with the final section in the same manner.

Step 11: When you’ve finished all the sections, apply any extra henna to your head as a general covering. I pretty mush make a henna helmet.

Step 12: Remove your gloves carefully.

Step 13: Very carefully, take your roll of plastic wrap and wrap your entire henna-ed scalp in plastic. It make take several passes, but cover everything. I always end up going a couple of inches below my hair line at my nape and over my ears. You won’t be pretty, but it’ll help from getting henna EVERYWHERE while you let it cure.

I made a time lapse video of steps 6 through 13. It’s about 40 seconds, but I think it took me approximately 25 minutes from applying the Waxelene to plastic wrapping. Remember: I’ve done this a few times, so your first attempt may not be as quick or as easy.

Step 14: I always get henna down my shirt so I stand in the shower to remove my henna-ing shirt, wipe any excess off, and maybe put on another crummy shirt for the wait.

Step 15: Wait for two to four hours. (I know — forever!). I like to use this time to read a book, watch some Netflix, and drink a glass of wine.

Step 16: Shower time. I try to rinse as much crud (because it will feel like this) out of my hair first, usually by turning my head upside down in the shower. Then I shampoo, which releases a lot of the henna. Then I condition — sometime twice — until I feel all of the product is out.

Step 17: Dry your hair with a dark towel or old t-shirt. While I’ve bleached henna out of white towels, I’ve learned to just avoid dying them accidentally entirely. Also, remember to q-tip your ears! (I find henna everywhere on me: ears, armpits, between toes…)

Step 18: Enjoy your new hue!

Is this a super intense way to dye hair? You betcha! Why would on earth would I spend 3-4 hours on this process when I could easily go to salon and/or home dye in a third of that time?!

First, the color lasts a lot longer I find; any time I’ve chemically dyed my hair this shade of brown, it turns red in two weeks. This color will last me about four to six. Second, my hair feels so much healthier with henna than chemical dye — softer, smoother. Three, I love the more natural color because my highlights come through my predominantly this way and it fades naturally too, instead of that weird root landing strip effect. Four, I like to have this time to pamper myself (henna nights are also my pluck-and-wax-random-hair/shave-and-lotion-leg/use-my-most-expensive-face-mask all while drinking wine nights). This ain’t for everyone, but I like it!


Lesson #4: Love Your Dermatologist

I’ve had horrible skin since I was 13 years old: oily and acne-prone, I’ve often joked with people how I feel like I have had mini-Mount Vesuviuses on my face for almost 20 years. I’ve run the gamut of product treatments, from the over the counter creams (that are often too abrasive) to a course of Accutane (aka isotretinoin), the most diehard prescription for acne available). Some have worked really well, while others have caused more trouble than original problem.

Through this all, I’ve learned the valuable lesson of loving my dermatologist. She has a degree in knowing skin, so I trust her when I’m having problems. She’s told me what I’ve been doing wrong (like using apricot pit facial scrubsouch!), explored various options to relieve my dermal dilemmas (like taking oral antibiotics), and been supportive when I wanted to hide under a mask for months on end. Plus, my doctor always gives me coupons, vouchers, and alternatives when it comes to paying for products. Oh — and samples! She loves samples! (And so do I !)

If you’re having any type of skin ailment — rosacea, hyper-pigmentation, acne, psoriasis, eczema, or some thing that’s simply bothering you — find a qualified, caring dermatologist,  schedule an appointment and make a new best friend.

PSA: Wear Sunscreen.

Yesterday, I spent the day with a friend walking around a touristy vacation spot. We got lost and walked for a few hours in the blaring sunlight. I’m now bright red.

When I got home, I thought about this song: how much I loved it at 13-14 years old, and how much wisdom I remembered was packed in this. I just watched it and, well, it didn’t hit me then as much as it does now. As I mentioned in my last post, over the next few months, before I turn 30, I’m planning on addressing some major life problems/goals/dreams that I’d like to change or aspire to. Let’s casually say that this video is a preface to all of those endeavors.

I’ll see you when I’m less lobster-red, folks.

High Drama

Sometimes, you just need to jolt yourself alive again.

As a former runner, the past couple of years without that ritualistic habit have been enlightening. I’ve learned how hard it is to climb hills without strong quads and hamstrings or how eating “normally” packs on some extra pounds quickly. So, I went to the gym last night and made myself run. It was exactly what I needed.

I’ve never been a fast runner (I mean, look at those curves!), but I’ve never minded distances. I got on the treadmill and just did a mile and half. Was it harder than it should have been? Yes, initially, but I fell right into again. Was I bright red afterward? You betcha! Did I miss the hell out of that sweaty, gross, walking-is-somehow-easier-afterward feeling? YES.

I felt great afterward. Briskly, easily meandering through the grocery store to pick up some veggies afterward. Washing my sweaty hair before bed. Sleeping well and deeply. And this morning, I felt like a new person. Or, rather, like myself again.

I may not look any different in these photos, but, well, I felt different and that’s what matters.

IMG_1851 IMG_1890 IMG_1827 IMG_1839

Blouse: H&M

Slacks: Old Navy

Flats: TOMS

Watch: Fossil

So clothes!

I’ve been thinking about this outfit combination for a while now. The blouse is something I bought on a whim at H&M a couple of years ago because I loved how dramatic it was: fitted at the waist, it then flairs out with some pretty pleats (possible?) and ends with a stunning high-low bottom. But I haven’t worn it because I thought it was too dramatic for me. I can do bright color and incredible pattern, but shape is still something with which I often have trouble.

So when I was pulling out and washing the rest of my stashed away summer clothes, I stumbled across these slacks. By being both bright red and very form fitting, I knew that they, like the blouse, were high drama as well. I figured, why not pair this theatrical blouse with stunningly bright pants? Both will keep up with the other and highlight some curves.

And, if smell-o-vision were a thing, you could also enjoy one of my favorite perfumes, CB I Hate Perfume’s In the Library. It was gifted to me years ago from a good friend who knows my deep loves of books and libraries. He bought it not knowing its exact scent, so it was a lovely surprise when it was heady and warm, sweet and woody all at once. (If you too are a bibliophile who enjoys perfume, two things: 1) buy this perfume, and 2) read Patrick Süskind’s Perfume: The Story of a Murderer.) I thought the scent, in all its moodiness, would complete the outfit and it did, impeccably so.

Sometimes you just need to push yourself in unexpected ways to feel normal again.